
The video editor turns generated clips, images, uploads, music and text into a finished video, entirely in the browser. It is in beta and built for desktop; on a phone, drag interactions such as moving clips or scrubbing may not work reliably. Rendering costs no credits; uploading and exporting require an active subscription.
Getting around
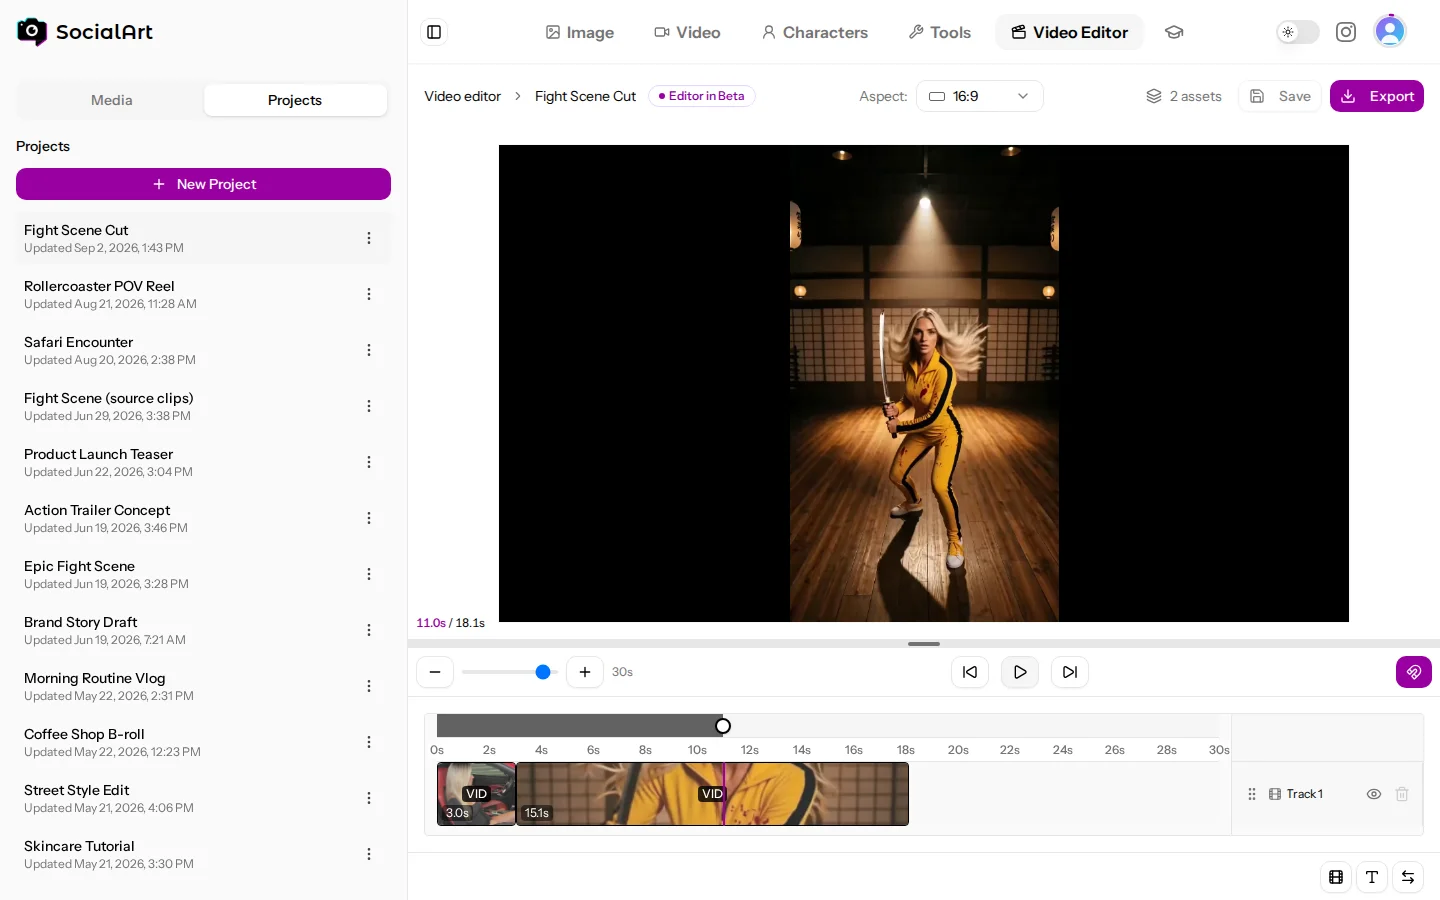
- Top bar: the project name, the aspect ratio, the number of assets, Save and Export. An "Unsaved" marker appears as soon as you change something.
- Sidebar: the Media tab with your content library and the Projects tab with your saved projects.
- Preview: the canvas in the project's aspect ratio with the playback controls underneath.
- Timeline: your tracks and clips, with a toolbar for the selected clip at the bottom.
Projects and saving
- Opening the editor starts a new project. Saving is manual: click Save (the first time you are asked for a name). Leaving with unsaved changes shows a warning, and Export saves first.
- The Projects tab lists your projects with their last update. Use New Project to start another one; the menu on a project renames or deletes it (deleting removes the timeline permanently).
Aspect ratio
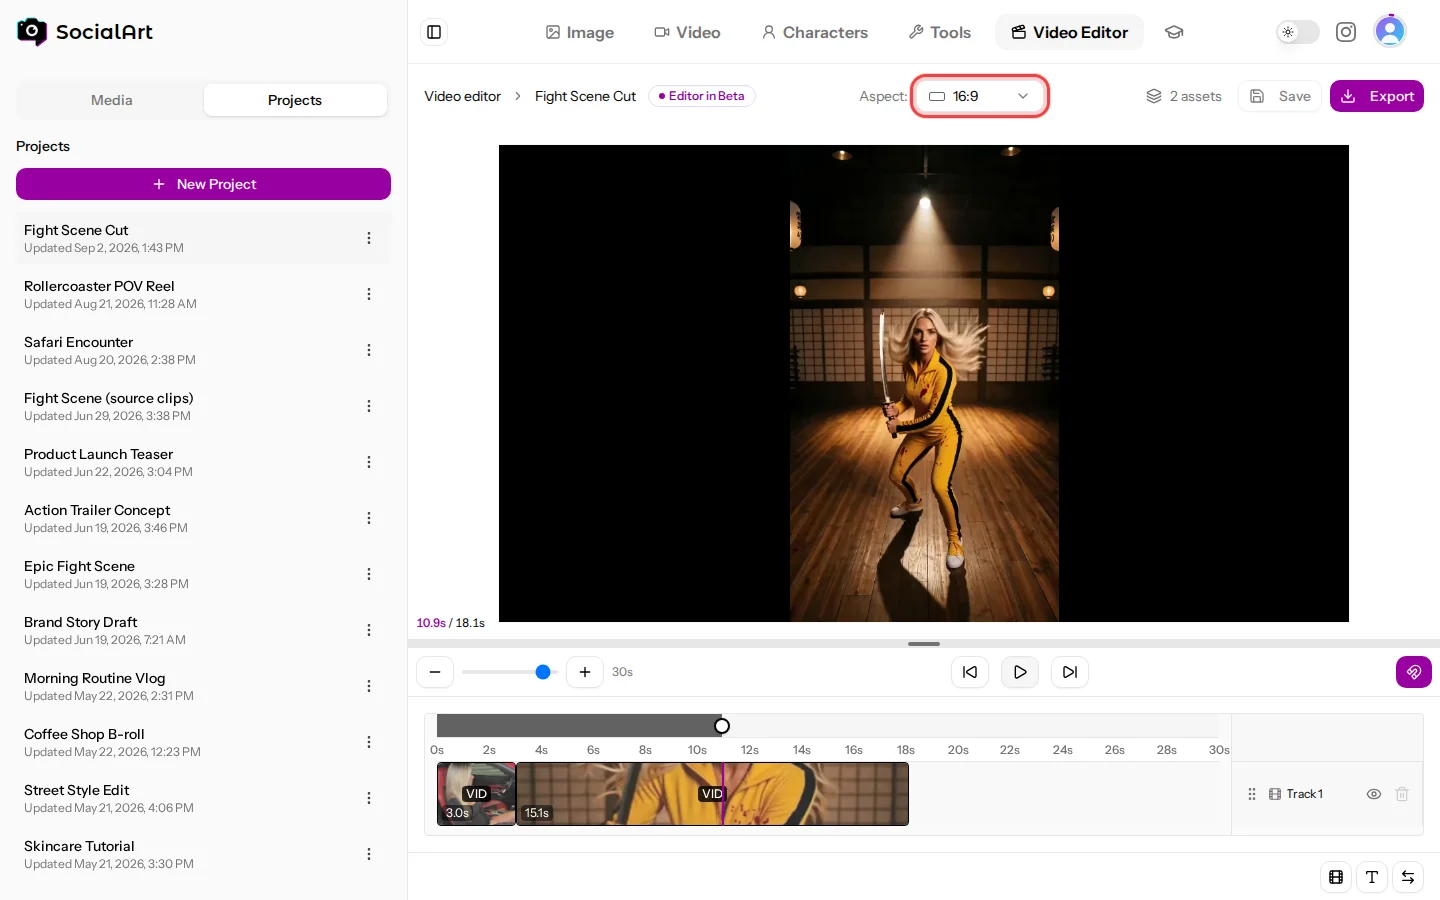
Choose 16:9, 9:16, 1:1, 4:3 or 3:4 in the top bar. New projects start with the ratio you used last (16:9 by default). Changing the ratio refits every clip and text box to the new canvas.
Adding content
The Media tab has four filters: Images, Audio, Videos and Uploads. Click a tile to add it at the playhead; it lands in the first free spot on the current media track.
- Images and videos from your studio history. Images get 3 seconds by default; videos keep their real length.
- Uploads: click Upload image or video, or drag files into the panel. JPEG, PNG, WebP and GIF up to 25 MB; MP4, WebM and MOV up to 100 MB. Search your uploads and delete them from their menu.
- Audio: click Upload audio or drag audio files in. MP3, WAV, M4A, AAC, OGG and MP4 audio up to 50 MB. Your uploads appear under My Audio, where you can rename or delete them; cloned voices appear under My Voices. Audio clips show their waveform on the timeline.
Tracks
- Up to 5 media tracks, 2 text tracks (always on top) and 2 audio tracks (always at the bottom). Add media tracks with the film button in the toolbar; text tracks appear when you add text, audio tracks when you add audio.
- Track header: drag the handle to reorder tracks, double-click the name to rename it, hide or show a media or text track with the eye, mute or unmute an audio track with the speaker, and delete a track with the bin (the last track cannot be deleted).
Working with clips
- Select a clip by clicking it; hold Ctrl (Cmd on Mac) to select several. Click empty space to deselect.
- Move a clip by dragging it, also onto another track. Trim by dragging its left or right edge; clips are at least half a second long.
- With a clip selected the toolbar offers Trim start at playhead, Split and Trim end at playhead (the playhead must be inside the clip), plus Duplicate (copies trim, fades and position) and Delete.
- Sort mode (the arrows button): drag a clip onto another one to swap their positions instead of moving freely.
- Zoom the timeline with the minus and plus buttons or the slider; the visible window runs from 5 seconds to 5 minutes. The bar above the playback controls resizes the timeline panel.
- A red clip with a warning means its source file is missing; delete it or restore the file before exporting.

Magnet snap
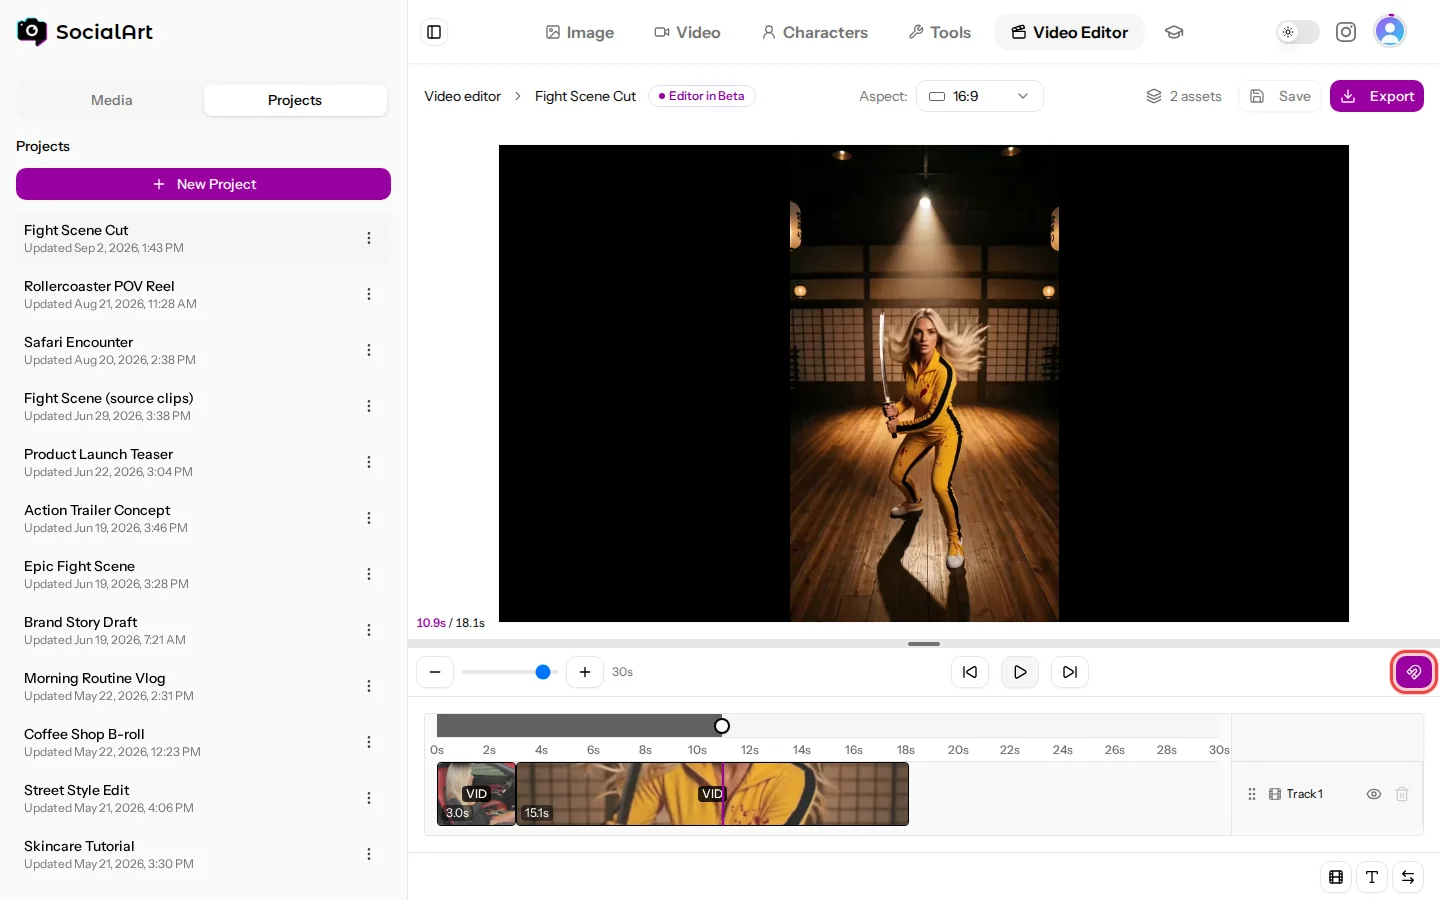
The magnet button next to the playback controls toggles snapping. When it is on (the default), clips snap to each other and to the playhead while you move or trim them, and elements in the preview snap to the canvas centre and edges with guide lines. Turn it off for free placement.
Preview, position and size
- Playback: seek to start, play or pause, seek to end. The time readout shows the current position and the total length. Playback stops at the end of the timeline.
- Click a clip in the preview to select it. The frame around it lets you drag to move, resize from the corners (the aspect ratio stays locked) and rotate from the handles just outside the corners. Reset fits the clip back to the canvas and removes the rotation.
- Volume: with a video clip selected, the toolbar shows a volume slider (70% by default).
Text
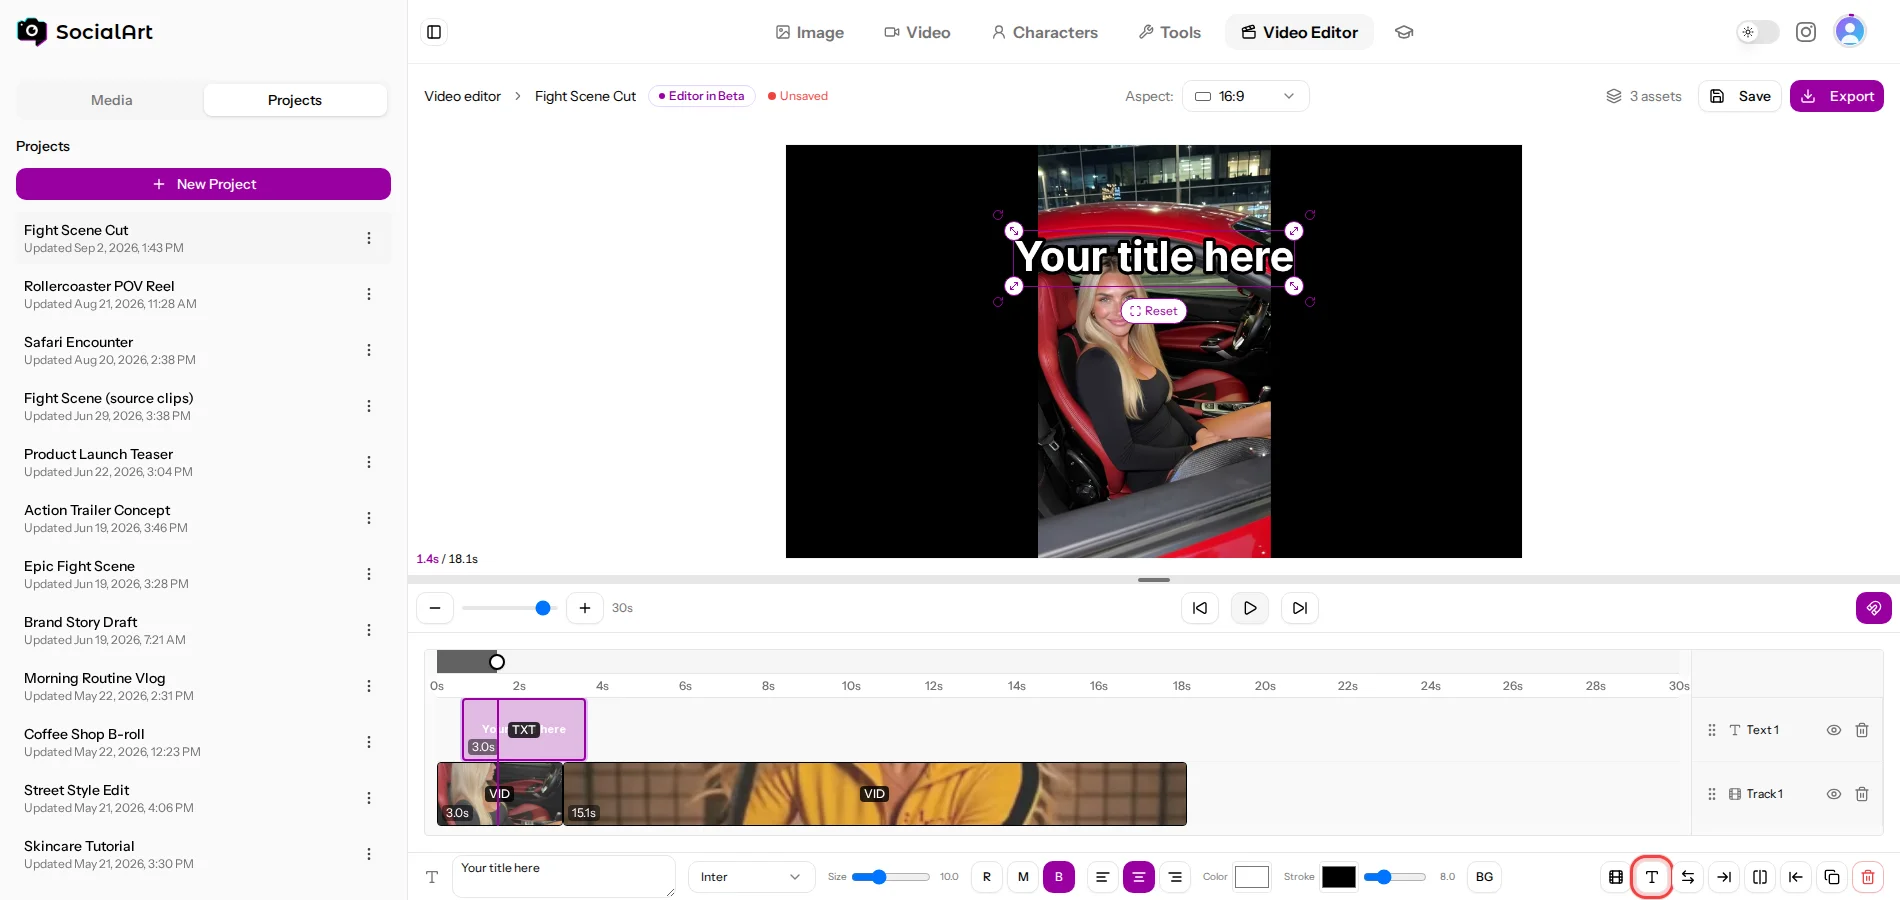
- Click the T button (Add text) to add a 3-second text clip on a text track with a placeholder title.
- With the text clip selected, the toolbar shows: the text itself (Enter for a new line), the font (Inter, Bebas Neue, Anton, Pacifico, Permanent Marker, Playfair Display), Size, weight (Regular, Medium, Bold), alignment, text Color, Stroke colour and width, and an optional background box (BG) with its own colour and padding.
- Move, resize and rotate the text in the preview like any other clip; resizing scales the font with it.

Audio
- With an audio clip selected, the toolbar shows Volume, Fade in and Fade out (up to 5 seconds each).
- Mute a whole audio track from its header, or lower the volume of individual video clips.
Export
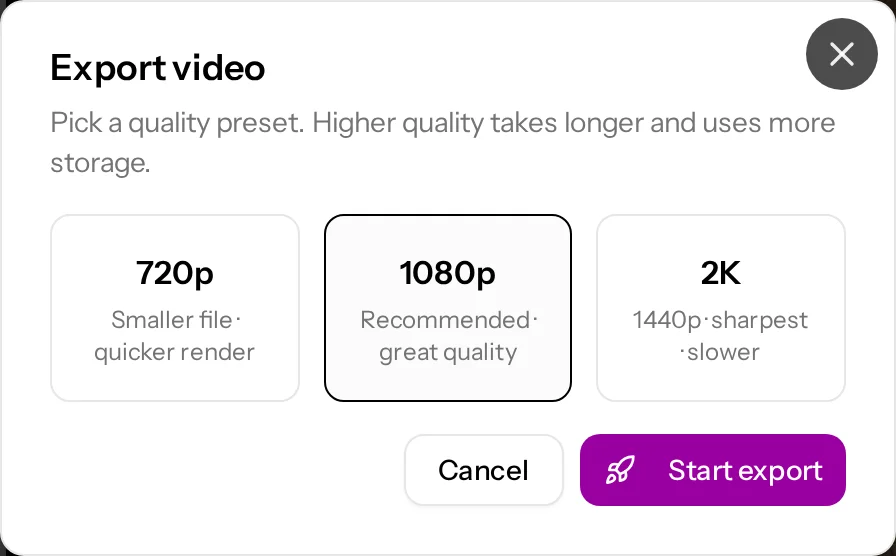
- Click Export and pick a quality: 720p (smaller file, quicker), 1080p (recommended) or 2K (1440p, sharpest, slower). Videos render at 30 fps.
- A banner above the preview shows the progress: Queued, Rendering, Finalising, then Ready to download. Cancel while it is queued or rendering.
- Download from the banner, or find the video in your Video Studio history under the Editor filter.
Good to know: one render runs at a time per account; a project can be at most 10 minutes long (a red marker on the timeline shows the limit); exporting needs an active subscription and free storage; rendering itself costs no credits.
Limits at a glance
| Limit | |
|---|---|
| Project length | 10 minutes |
| Tracks | 5 media, 2 text, 2 audio |
| Clip length | at least 0.5 s |
| Image upload | 25 MB (JPEG, PNG, WebP, GIF) |
| Video upload | 100 MB (MP4, WebM, MOV) |
| Audio upload | 50 MB (MP3, WAV, M4A, AAC, OGG) |
| Renders | one at a time, 720p / 1080p / 2K at 30 fps |
Coming soon
An AI agent is coming to the editor: describe the video you want and it drafts a storyboard, generates the clips and places them on your timeline for you to refine.
Related
- Generating clips: Video Studio
- Publishing the result on Instagram: Social Post